A fair amount of work has now gone into our custom deep sump, baffled oil pan for the 1MZ. At this point it is nearly complete, only an argon tank refill away from completion.
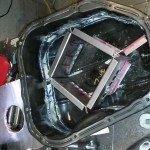
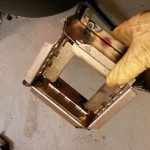
Last update I had just completed the extension of the pan by 1″. I designed a diamond formation baffle system with steel flapping doors. The flapping doors are oriented to block flow out of the center chamber and open to allow flow in. These baffles were about 3.5″ high, tall enough to come all the way to the lowest lip of the pan. The top surface of the baffles have a .5″ flange and is parallel to the ground. The center of the baffled diamond is the in the direct center of the pan, with the pickup relocated to the middle of this area.
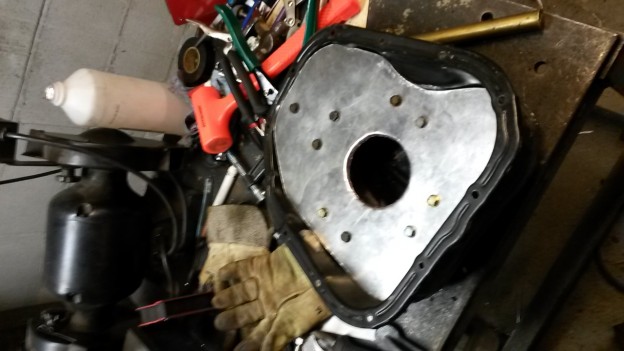
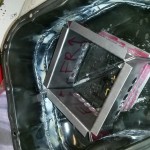
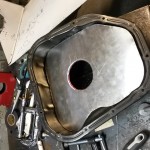
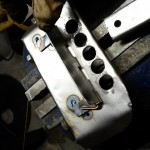
On top of the baffles I added an aluminum top plate. It is as sealed along the edges of the pan as I could get it although there are some gaps. I installed weld-nuts into the top flanges of the baffles for bolting down the aluminum top plate. The top plate has one large hole above the pickup and I was concerned that the oil could swirl around the top plate without making its way back down into the sump. To combat this I added some “oil guides” to direct the oil back into the center hole.
Overall I am pleased with the design. I tested it with water in the sink (video pending) and it virtually eliminates oil slosh inside the pan. Due to gaps around the edges of the baffles it is not completely sealed and the oil will still be able to drain through the baffles during sustained forces. I am considering making a second top plate which will be sealed between the pan and the engine block. This second top plate would have a flange to combat oil flowing up and out of the pan into the drivers side of the engine (the lower pan we are working with is on the passengers side).
The only thing that remains is completing the oil pickup relocation. Once it is completely done I am hoping I can do some testing with our spare block and water to see how well it holds up to extreme angles. With an empty block I should be able to see down into the pan and assess how well the oil level is down in the pan.
Some photos in the gallery below. Apologies for the poor quality cell pics. I am having trouble uploading higher res pictures to the blog but I have some DSLR photos waiting.
-

- Cardboard prototype of the baffle layout in the pan. I later made the chamber larger.
-
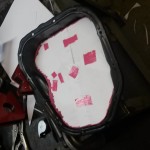
- Paper template of the baffle top plate.
-
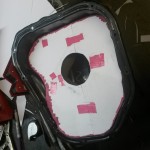
- Cardboard template of the baffle arrangement with hole cut for pickup.
-
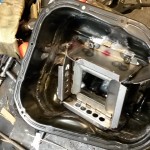
- The beginnings of the baffle setup.
-
- All the baffle parts cut out.
-
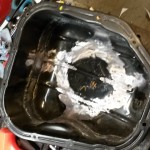
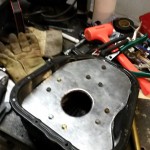
- Oil pan with paint cleaned up. This paint is impossible to weld through and must be cleaned off front and back before welding or blow-throughs will result!
-
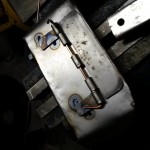
- Weld nut on the baffle to secure the top plate
-
- Oil pan baffle one way flapper.
-
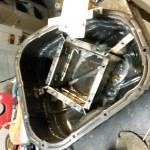
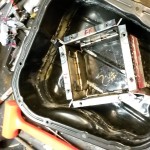
- Baffle arrangement in place
-
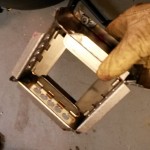
- Tacked together baffles removed from the pan.
-
- Tacked together baffles removed from the pan.
-
- Top plate cut from aluminum.
-
- Close up of baffle doors.
-
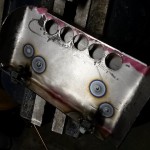
- Top plate bolted in place
-
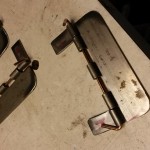
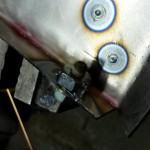
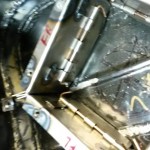
- Flapper door made from cut up piano hinges. The hinges are sourced from mcmaster-carr. The pivot rods are .125″ welding rod bent at the ends to ensure that the door can only open around 80 degrees.
-
- Flapper door
-
- Flapper door layout
-
- Oil pan baffle one way flapper.
-
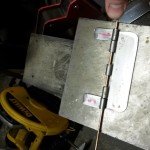
- Oil pan baffle one way door open
-
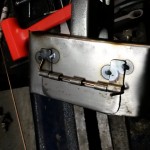
- Oil pan baffle one way flapper.
-
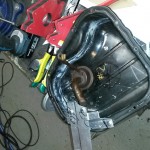
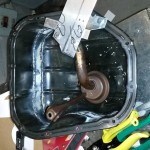
- Another view of the stock oil pickup location.
-
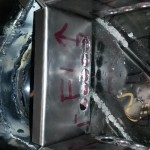
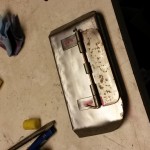
- Mocking up the relocated oil pickup. The aluminum bracket was made to replicate the position of the oil feed in the engine block. This shows the stock position of the pickup.