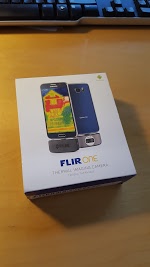
As of this writing I hadn’t seen a teardown of this device and I was anxious to see inside… so I did my own. This is the new 160×120 version of Flir’s cheap $250 thermal camera. It features a 160×120 resolution sensor and slick new packaging.
Packaging is pretty nice, modern and professional.


Comes with a little rubber carrying case, although it is not sealed like the similarly priced SEEK thermal imager. Unlike the seek it has an internal battery so it doesn’t run your smartphones battery down while in use, which for regular users is probably a nice feature. It also features a visual imager as well, allowing the device to offer Flir’s “Hybrid MSX” image which adds some lines and definition from the visual imager to aid in scene identification. Actually a pretty nice feature since it is sometimes challenging to figure out what you are looking at through the imager. Anyways I won’t go into too much detail on the product operation since there are plenty of comparisons online. We are here to look at the guts!
Getting right into the teardown! Prying around the inside edge of the rear cover it comes free very easily as it is just secured with some PSA strips. Inside we see a large piece of copper shielding foil and the battery on the back cover. The battery is easily disconnected.


Once the copper foil is pealed back, you need a T5 safety torx bit to remove the pcb from the housing. This is where the disassembly paused for me, since despite having every tool under the sun I do not have a safety torx that small. Most sets include T8, some down to T6. I ended up dropping $8 on yet another bit set from amazon: “Premium Grade 7-Piece Mini TORX Star Tamper Resistant Bits T4 – T10”
[two day pause for Amazon Prime shipping…]
Once I got the T5 safety torx pulling everything apart was pretty straightforward. There is a single PCB inside which has an SLA bracket snapped to it holding the visual imager module and snapping onto the shutter module of the Lepton, holding it all secure inside the assembly. The PCB has the AT91SAM9X25 microcontroller that runs the show, a flash chip (under the sticker), the same Sonix SN9C270 camera interface chip as used on the previous product. The rest of the PCB is mostly power supplies, charging circuits and some glue logic including a TI BQ24295 battery management chip.

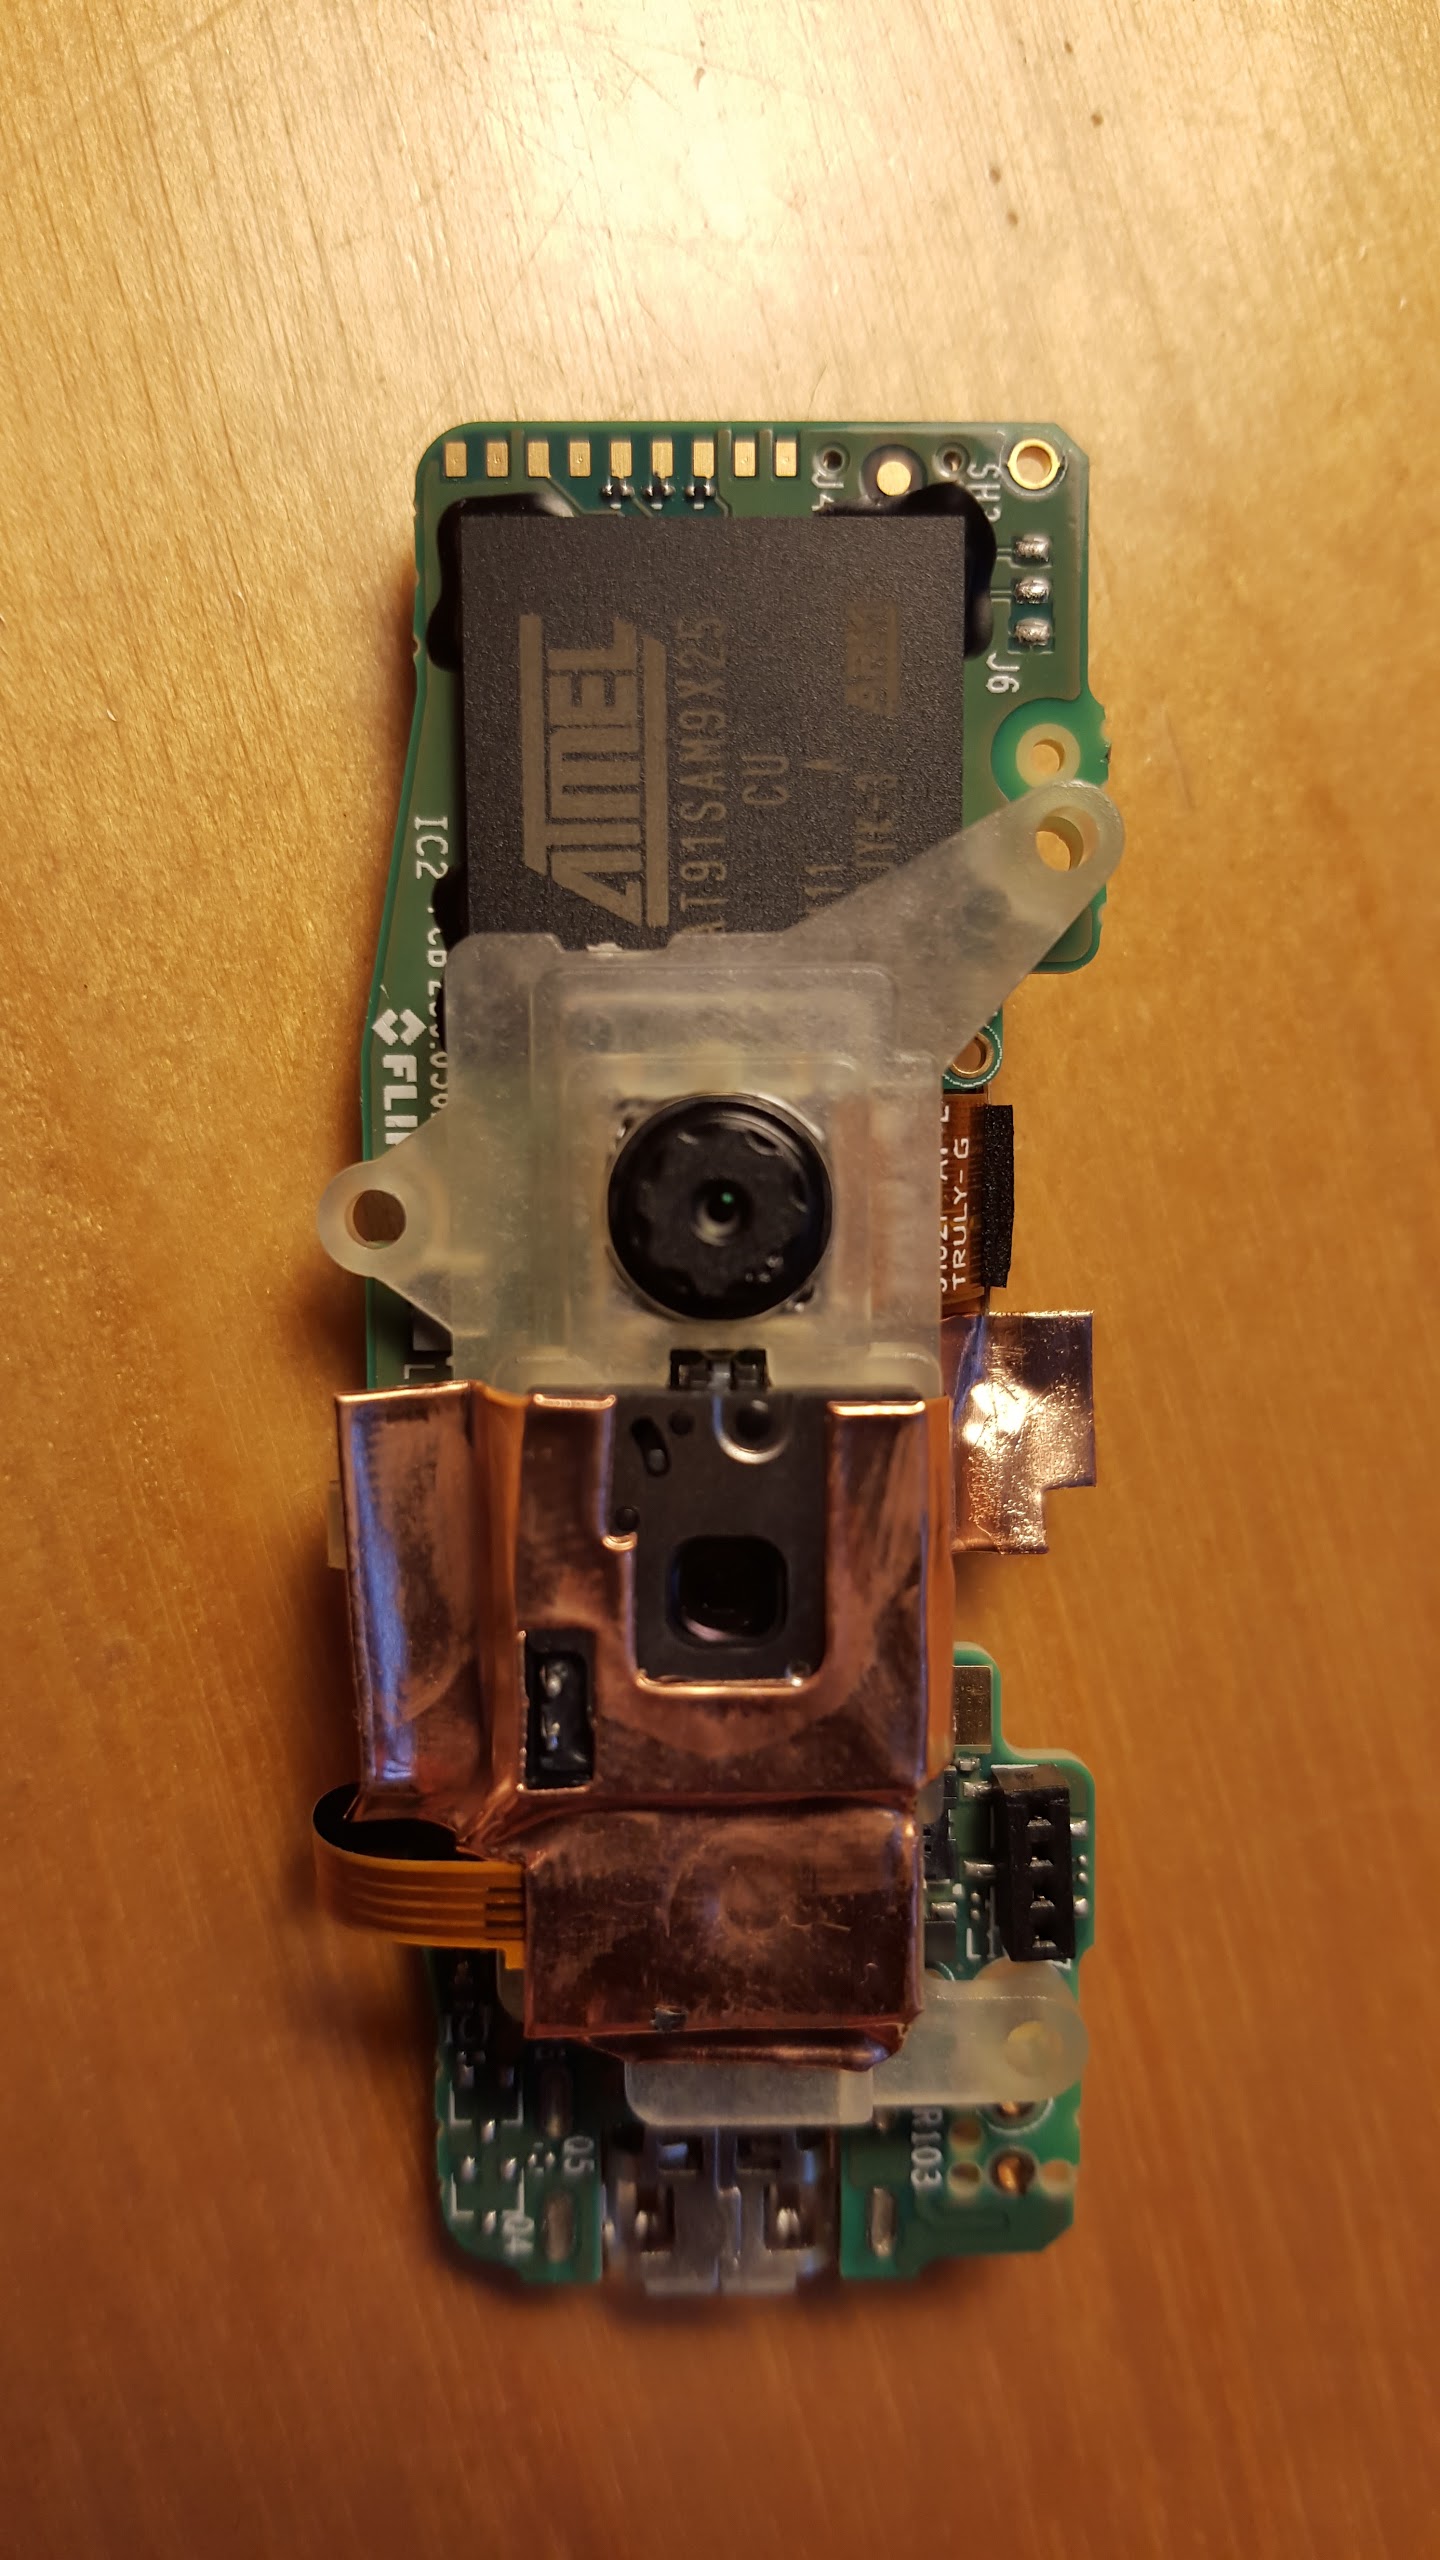


Getting the Flir Lepton module out is pretty easy. You have to peel away the copper foil and remove the SLA bracket and you will have it apart in a few minutes. You can see in the photos the additional shutter module that is snapped to the end of the Lepton module. The shutter is wrapped carefully in copper foil, and right nearby there is a temperature sensor also wrapped into the copper foil. Assume this is so the CPU can measure the actual temperature of the shutter module for correct calibration. The temp sensor is a MAX31725 which is a pretty standard high precision I2C temperature sensor from Maxim.


Well that’s about it. Not too tough to disassemble and I believe entirely reversible. Did not have to break anything to get it apart. Wrapping all the copper foil back requires some delicate hands but that is about it. Seems nicely designed!
Thanks James for this really informative post.
I’m finding the Flir One good for revealing building insulation and sealing faults. If I take it outside on a frosty day, its IR temperature readings of a building are too low for a while. I guess because the Lepton and MAX31725 temperature sensor aren’t equilibrated.
Please can you make your tear-down images downloadable at high-res, so I can work out where the MAX31725 is?
The MAX31725 is attached to a tiny flex cable. It is a rigid flex PCB that has an end with the MAX on it. The sensor is then taped up in copper foil that is taped to the Lepton’s shutter. The thermal coupling I suspect is not that great. It does not surprise me that the temperature readings aren’t all that accurate. The Lepton shutter itself has very large thermal gradients across it (5 degrees C or more), and the coupling between that shutter and the MAX sensor is only through some very thin copper foil. Seems like an afterthought.
Hackaday linked this post, Thanks!
http://hackaday.com/2016/04/20/hackaday-reviews-flir-one-android/